


20
Continental GT W12
5950cc
635bhp
23.3mpg
3.7s
It’s now five months since I specced the Conti GT. The suspense has been killing me. I’ve been having second thoughts about the colour scheme, the wheels, the leather. All sorts. I find myself back on the configurator almost daily. But now it’s too late to worry about any of that, because today the chassis and bodyshell has arrived on a truck from Leipzig in Germany and the car is ready to be assembled.
So I’m going to take you through the processes, step-by-step. I can do this, because I’ve been up at Crewe getting my hands dirty: trimming wood, stitching leather, dropping cylinders in the W12 engine, and following the car’s entire process down the assembly line. This is the Bentley TG built. Sort of. I was mainly trying not to get in the way and doing a few bolts up here and there. A process that, when I thought about it, gives Bentley a get-out-of-jail card. If anything goes wrong, they can point the finger at me.
The first step is painting.
Send in the foil Bentayga!
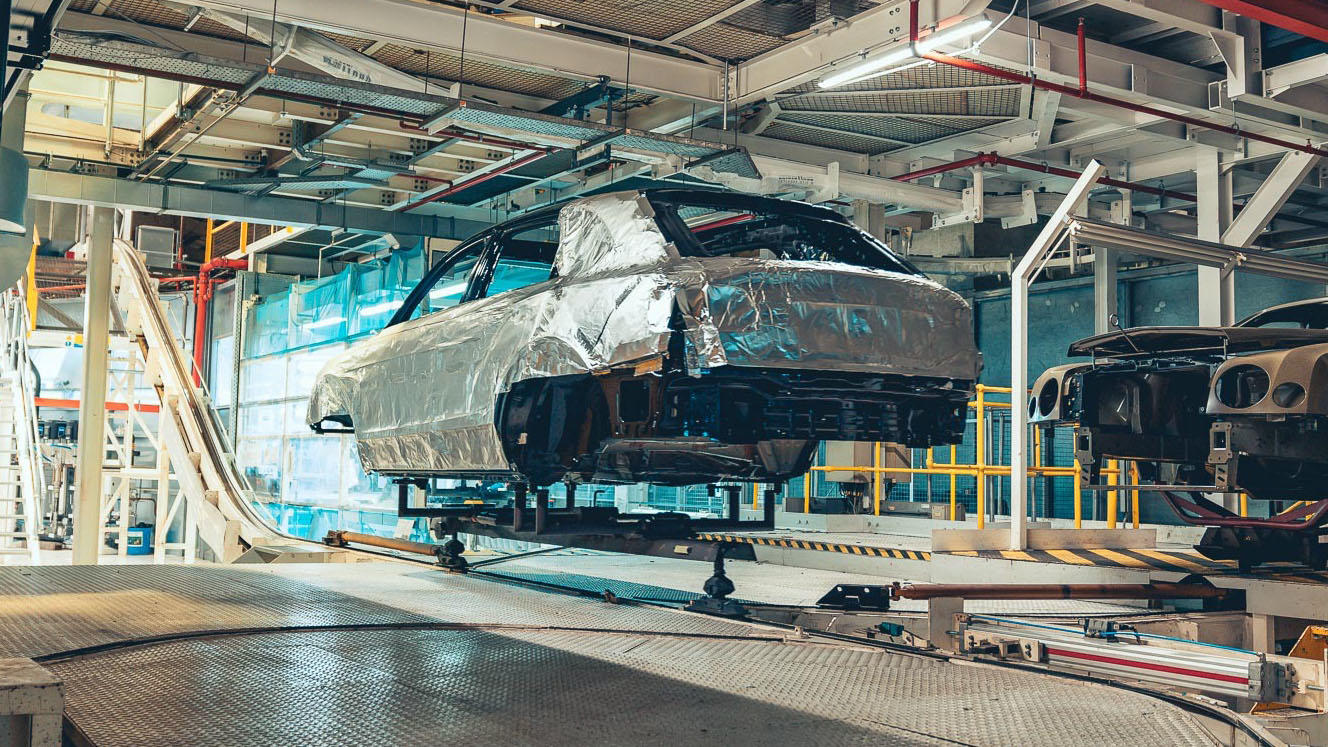
The more labour-intensive departments at Bentley – the wood and leather – run 24 hour shifts. Most other departments, including the paintshop, start at 7am. And every day, this is the first car sent round. Yep, it’s a Bentyaga covered in silver foil. Slightly magnetized, it pulls dust and other particles out of the air, cleaning the atmosphere and reducing the chance of paintwork blemishes.
Seam sealing
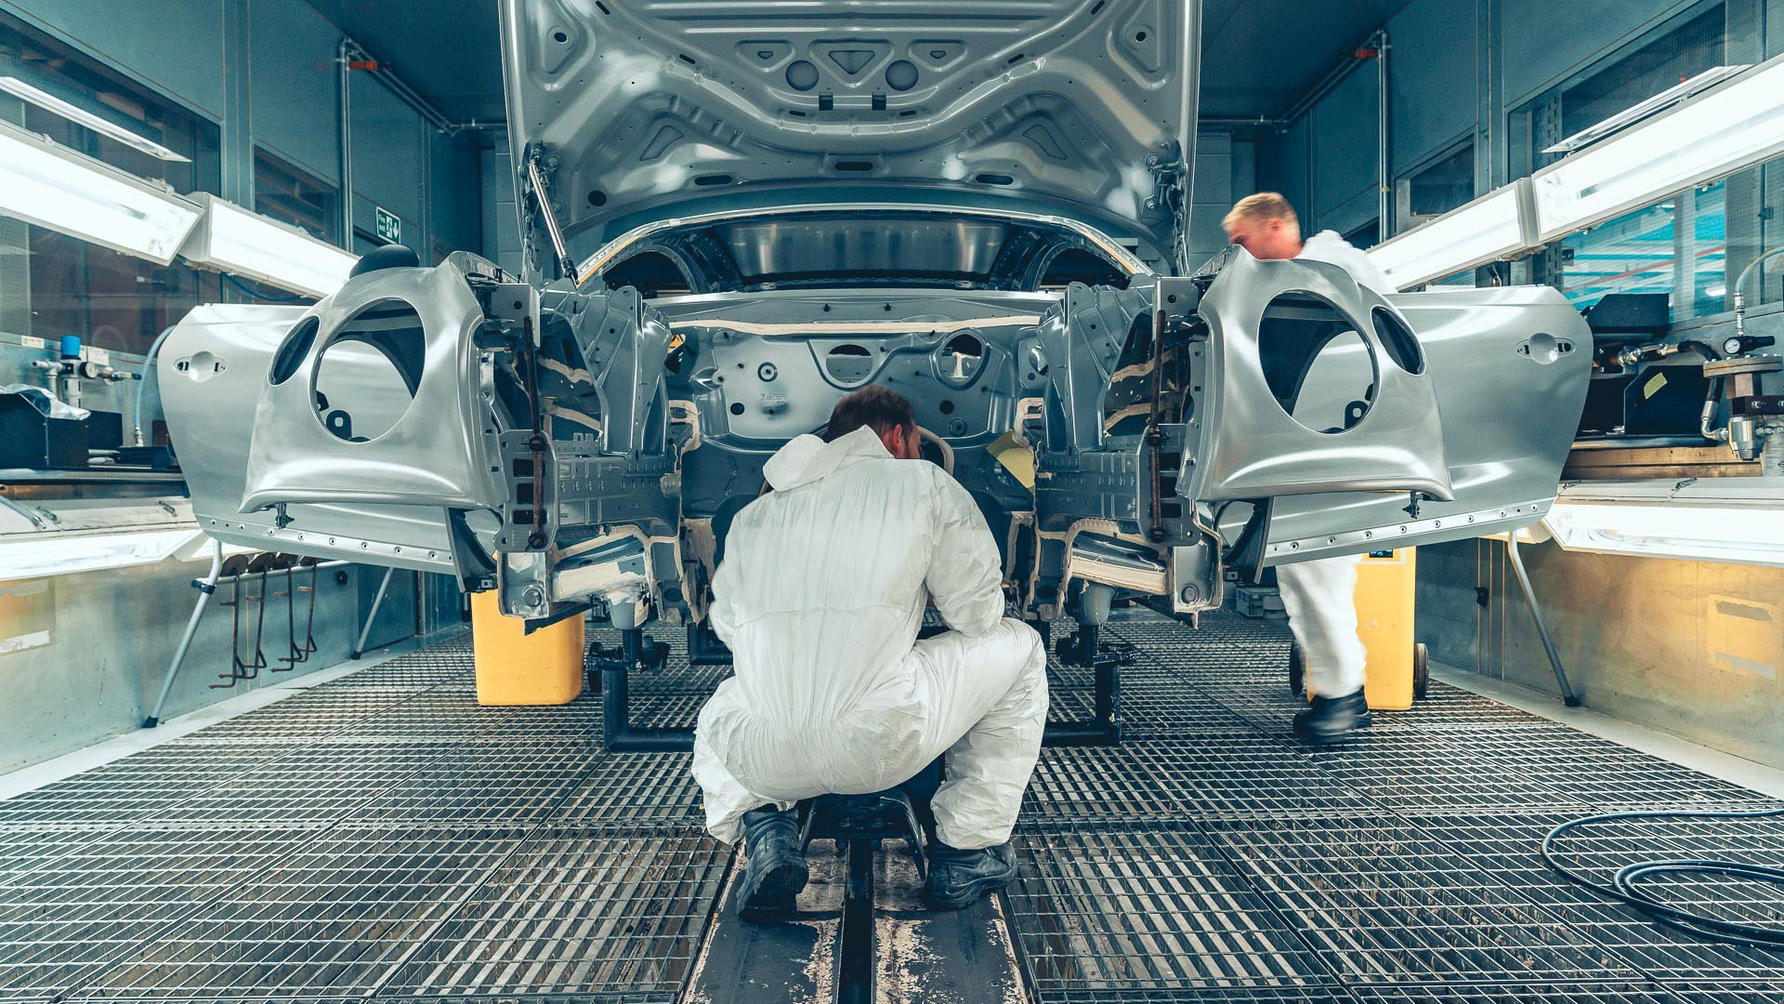
The bodies arrive e-coated – a galvanising technology where the bodies are dipped in water based emulsion and then electrified so the paint sticks. The more voltage, the thicker the coat. But that happens in Germany.
The first job on the line is for the e-coat to be backed up with sealant. First, robots precisely squirt sealant along the body seams, then people step in to do the trickier bits – to smear it into the deeper crevices and round the tighter corners. Mostly this is done with paint brushes, but no matter how neat you are, the robots are far, far neater. 8.5kg of sealant is used on each car.
Primed and ready
Bentley’s paintshop is currently being upgraded. £50 million has been spent so far, the main aim being to speed up the painting process. At the moment it can only paint 35 cars a day (Contis and Bentaygas only), while the Conti assembly line alone produces 44.
The new parts are more automated, so you don’t see the car again until it’s been through two more stages. First two robots apply a base primer – one of four different colours (black, grey, white and red) depending on the topcoat you’ve chosen. Black primer for our Verdant green car. After that the body is baked at 160 degrees for 37.5 minutes to dry the paint and harden the sealant.
Why are the timings so precise? Everything in the factory works on ‘takt’ times. It’s the German word for a music conductor’s baton, but basically refers to the metronomic way that the processes have to be done. In the paint shop everything works on 12 minute takts. So the baking process takes three takts with 30sec intervals where the line moves from one station to the next.
Looks good already, right? Which makes what comes next slightly puzzling...
Sanding
It’s sanded. They’ll let anyone have a go (the less said about my efforts at sealant the better). There are two main reasons for this. Firstly, it gives the top coat of paint a better bind, and secondly sanding the primer gives it a smoother finish, helping to prevent orange peel. Imperfections in the paint at earlier stages are magnified further through the processes.
The paint sands down very easily, the black primer powdering into grey, making it easy to see where you’ve been. Air is pumped in through the roof and sucked down through the grated floor to minimise dust. It’s an expensive and time consuming stage, taking six people 12 minutes to sand the car fully (this department gets through around 5900 discs for their rotary sanders every week), after which the car goes back into the automated tunnel, where it’s first washed to remove the primer dust, then vacuumed to remove the water from the washing, then heated to dry it out.
Tracking down the paint
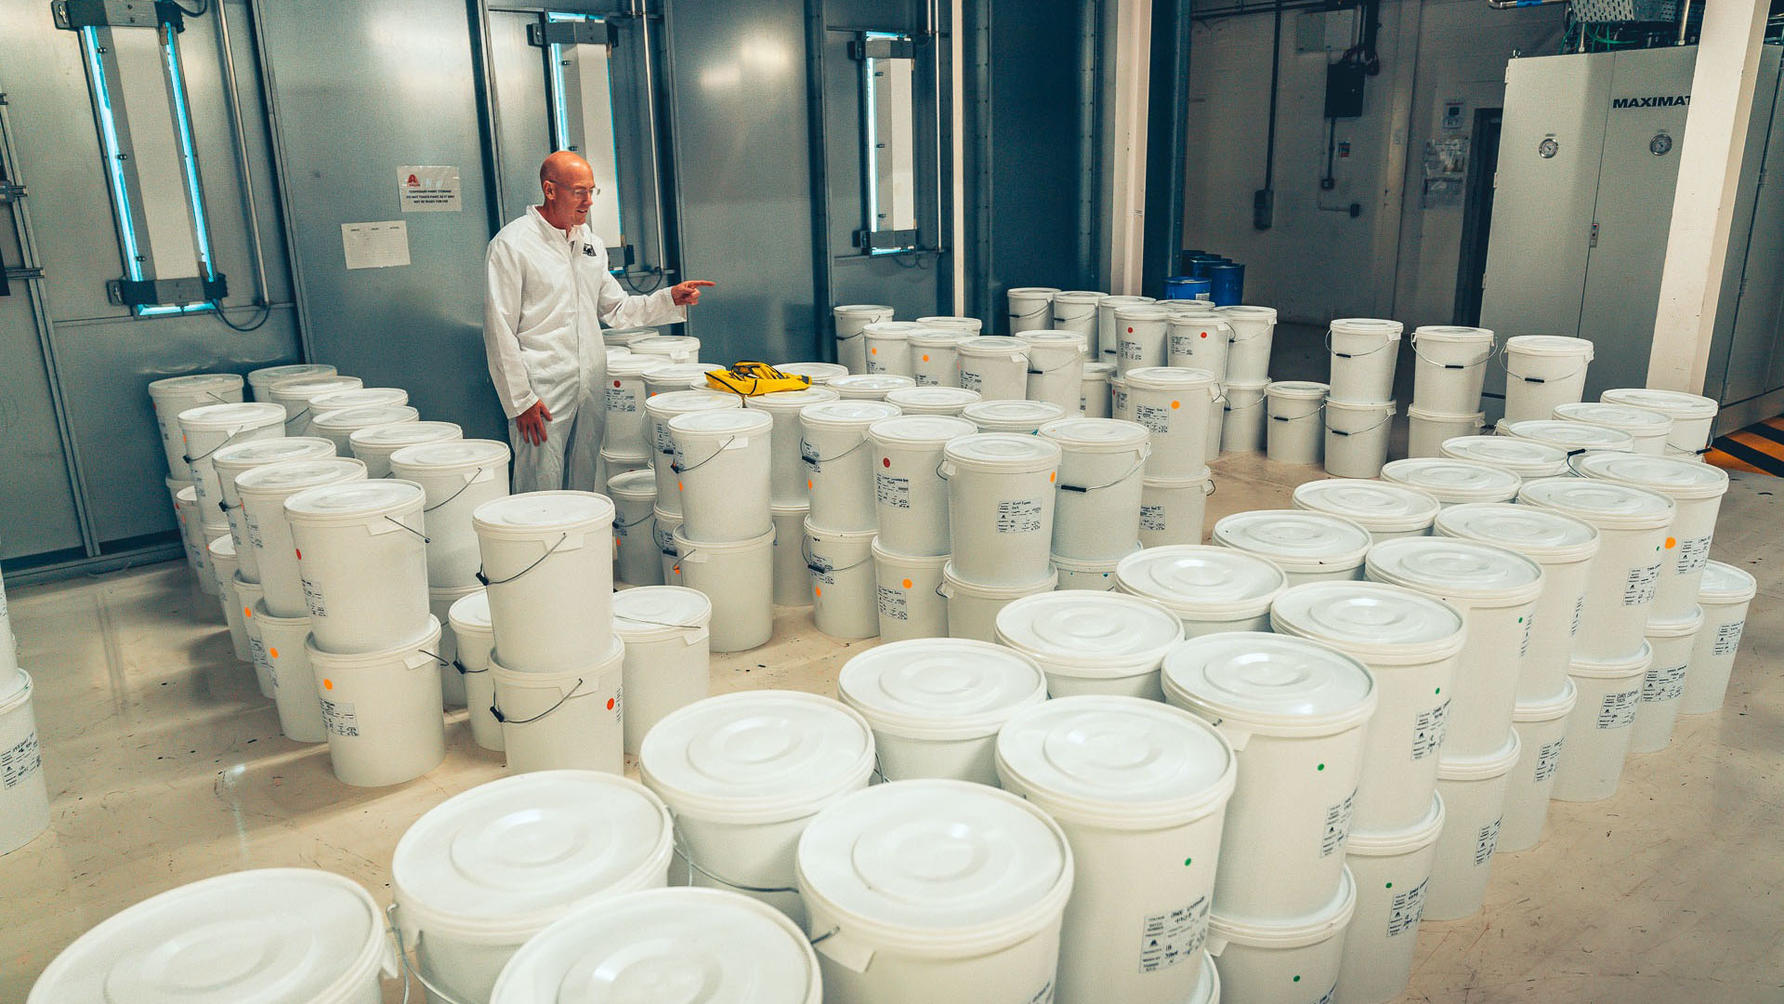
I had no need to do this – I was just following the paint process, but came around a corner and found tubs and tubs of paint. The Conti GT needs less paint (2.3kg per car) than either primer (2.4kg) or clearcoat (the top lacquer layer, another 2.4kg).
Actual painting
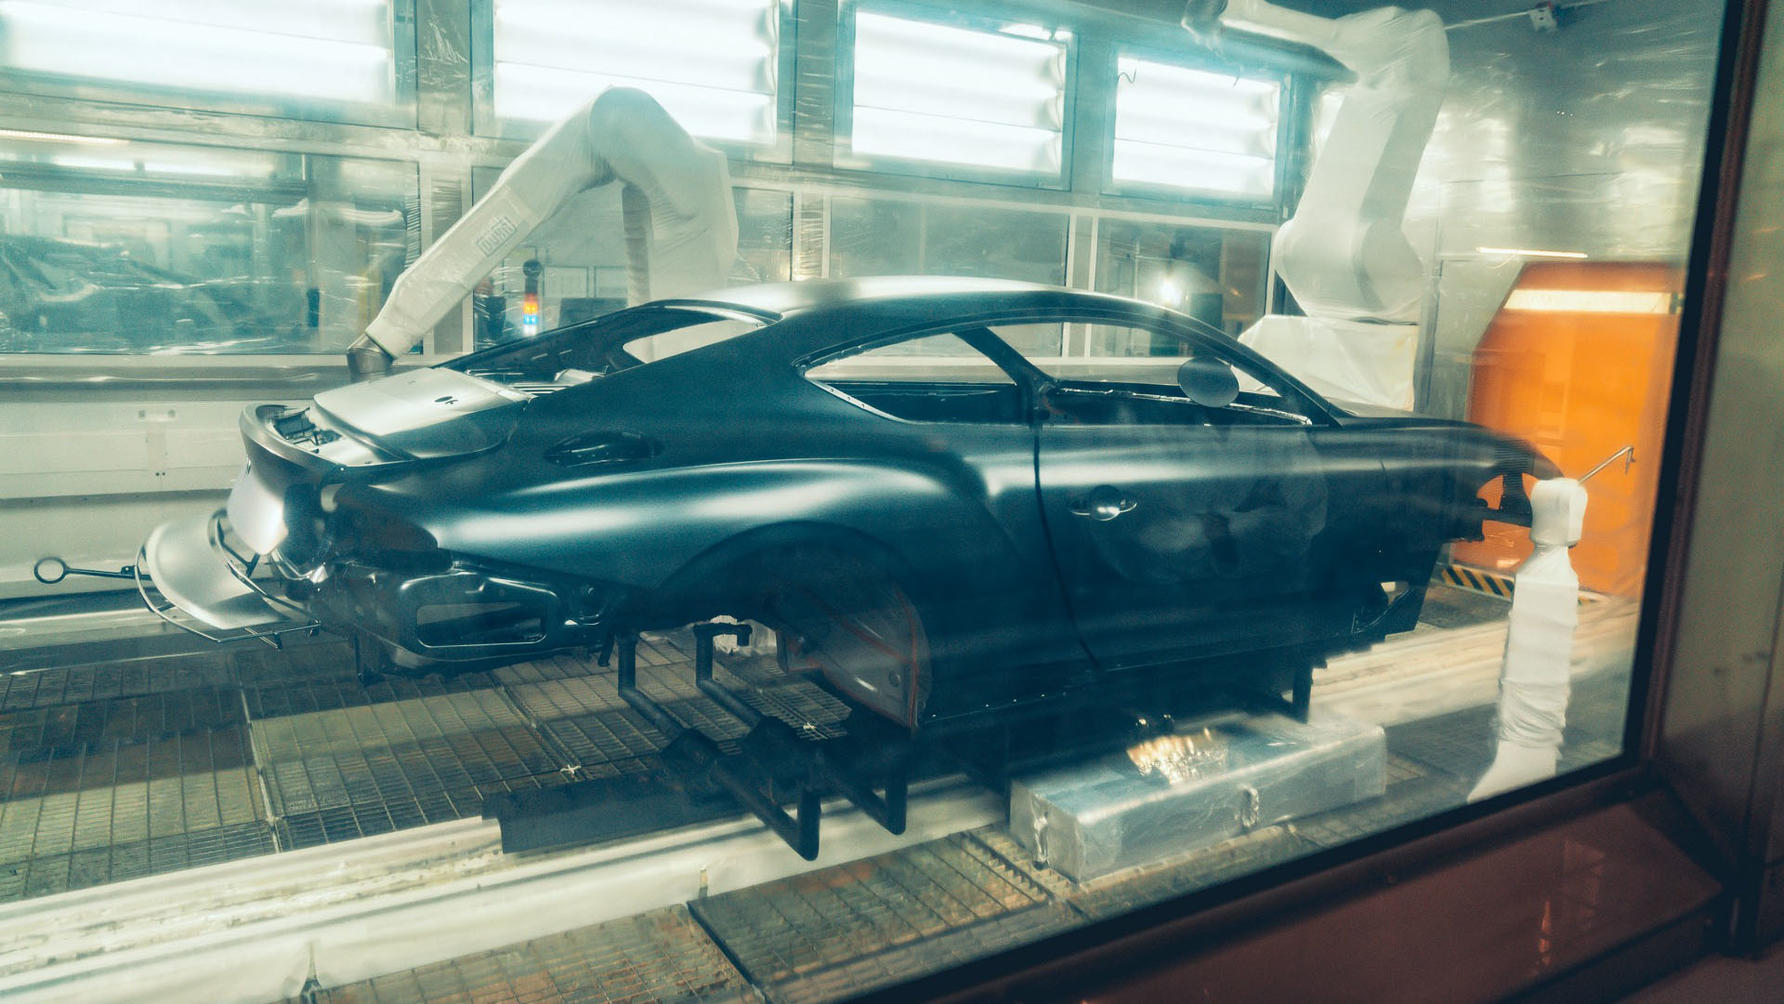
Unlike the primer application chamber, you can actually watch your colour being sprayed on. Now I thought there would be several coats of the main colour, but actually it’s all done in one 12 minute burst by four robots. It’s like watching a bunch of triffids. This isn’t the case for the Mulsanne, or if you have a special order colour or matte paint. Applying those is more involved and happens elsewhere – part of the reason the matte grey paint I initially fancied costs £23 grand.
See the ring pull at the back? That’s there so the robot can spear it and lift the panel to do the underside. After this, there was another 12 minute baking process, than the clearcoat layer was applied (once again behind closed doors), then that was baked for another 12 minutes.
I was nervous at this point – the paint looked darker than I was expecting.
The moment of truth
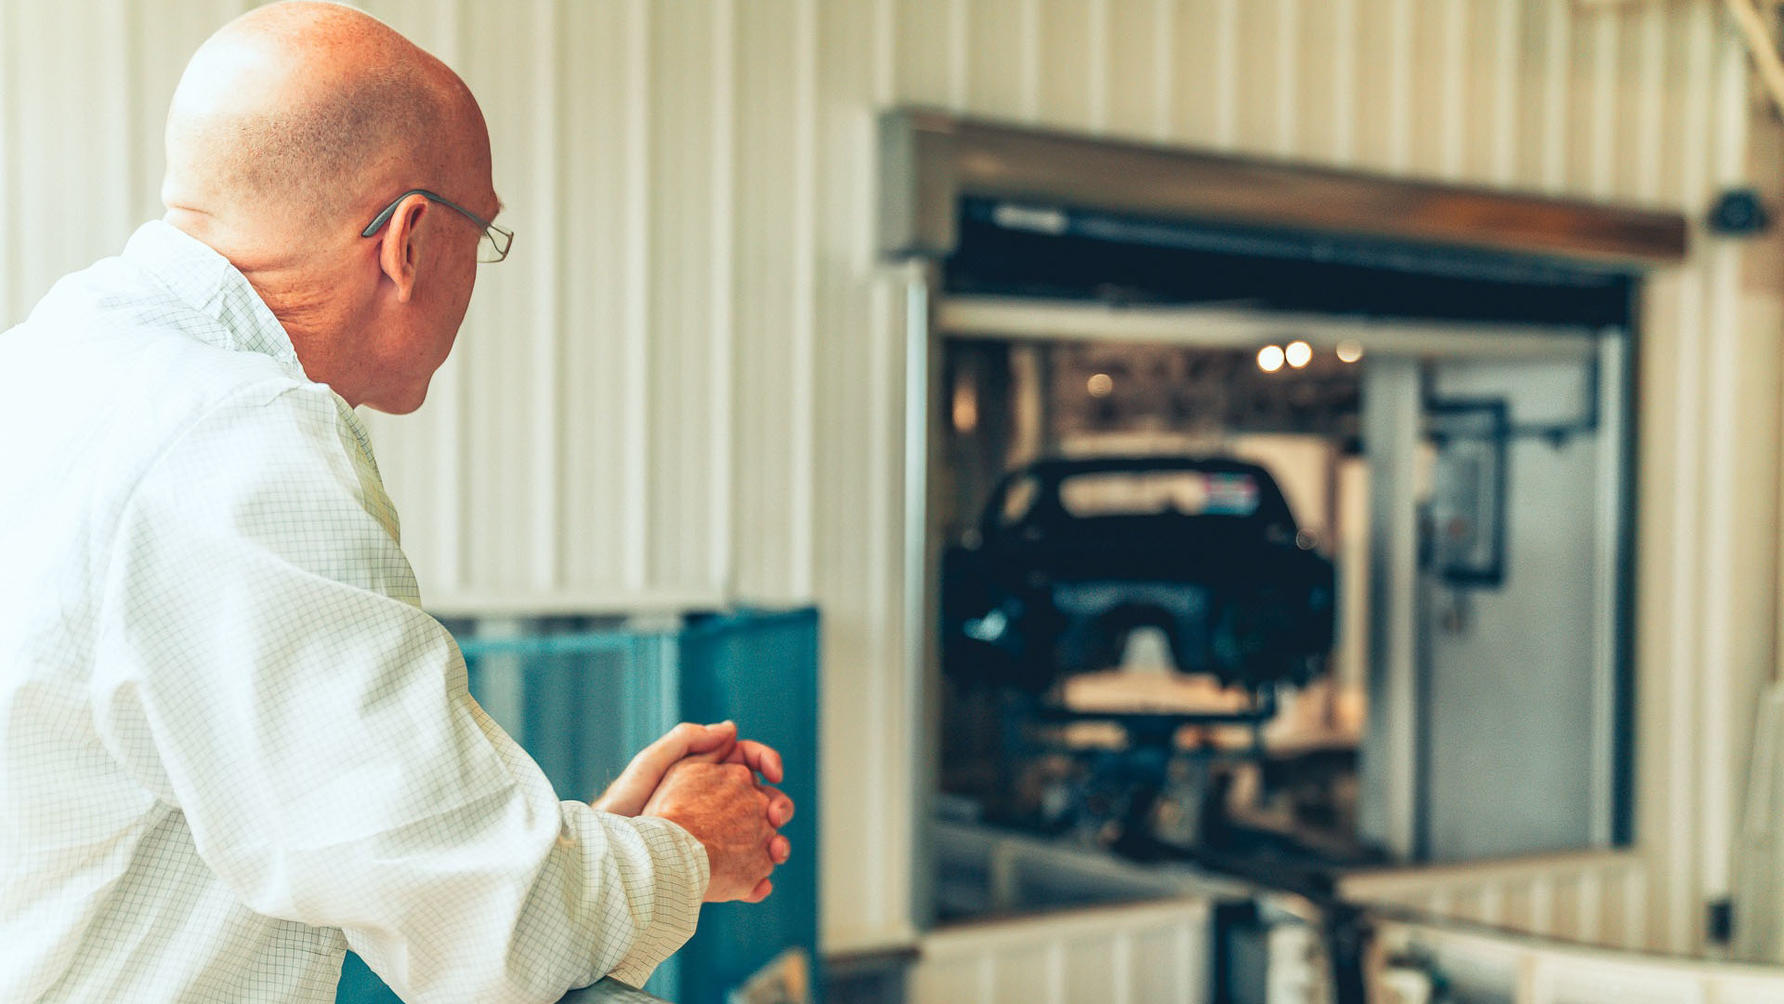
Had to wait about 45 minutes from seeing it go through the paintshop to watching it come out the other side ready for final inspection. It emerges from the dark along the monorail and at this point still looks darker than I hoped.
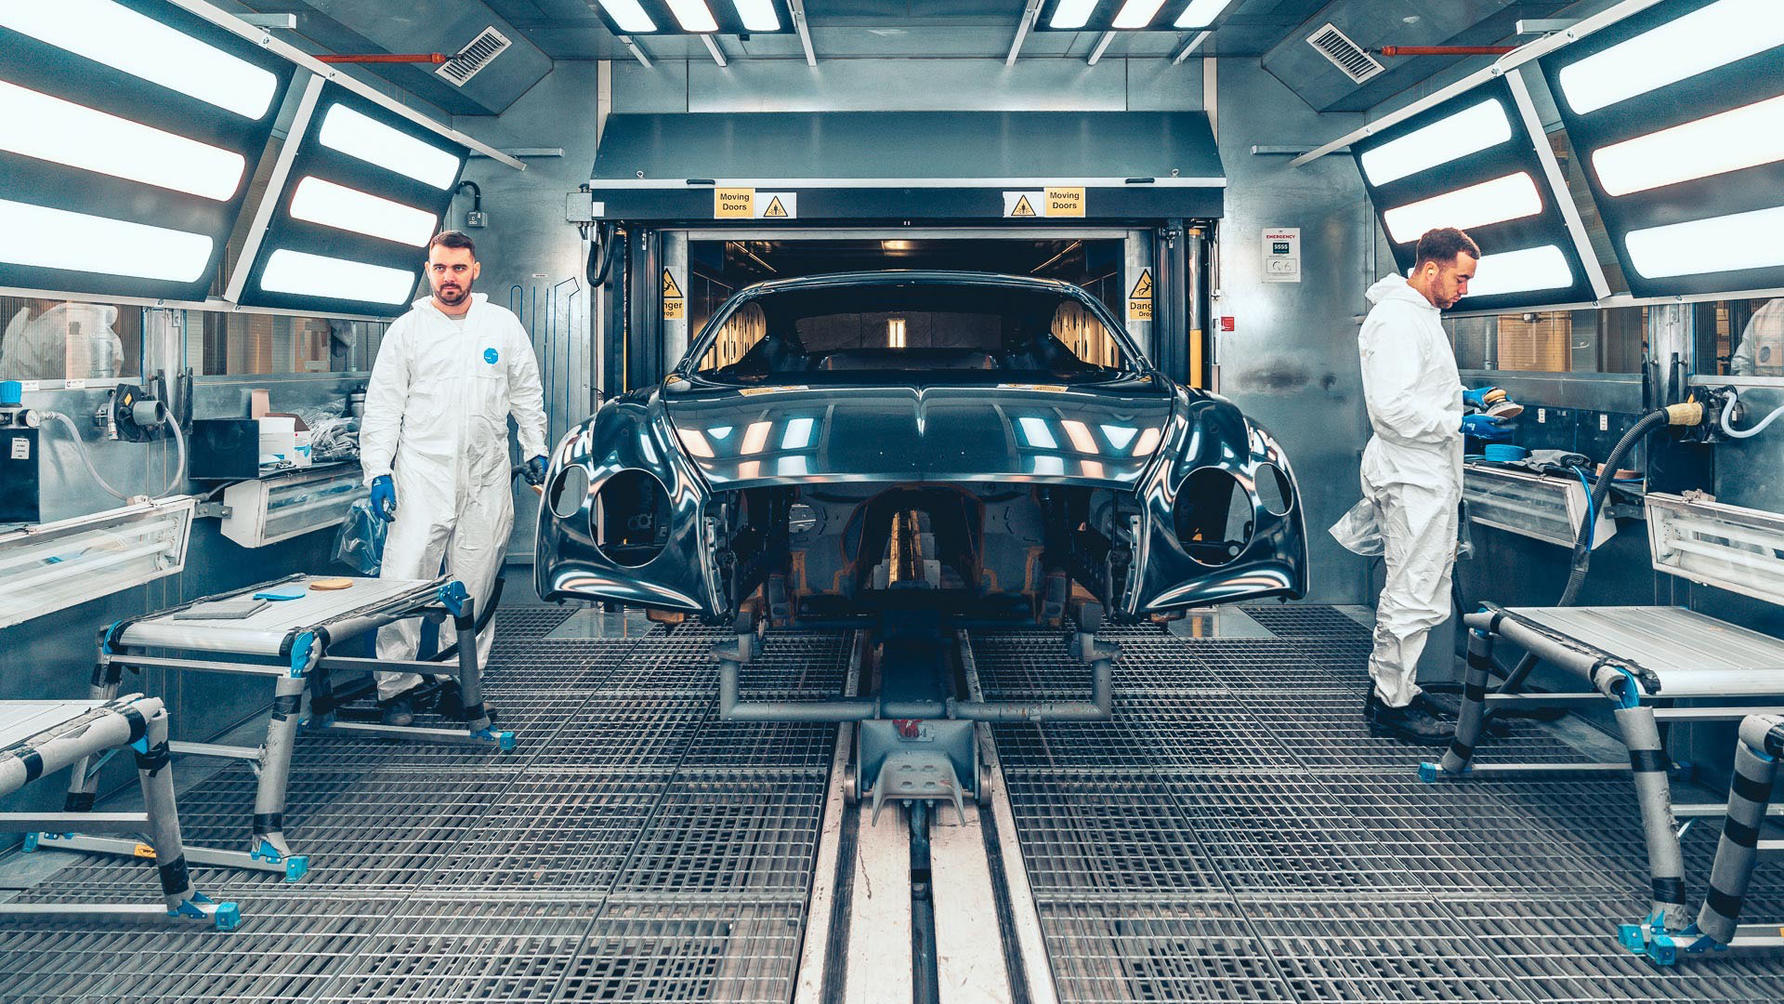
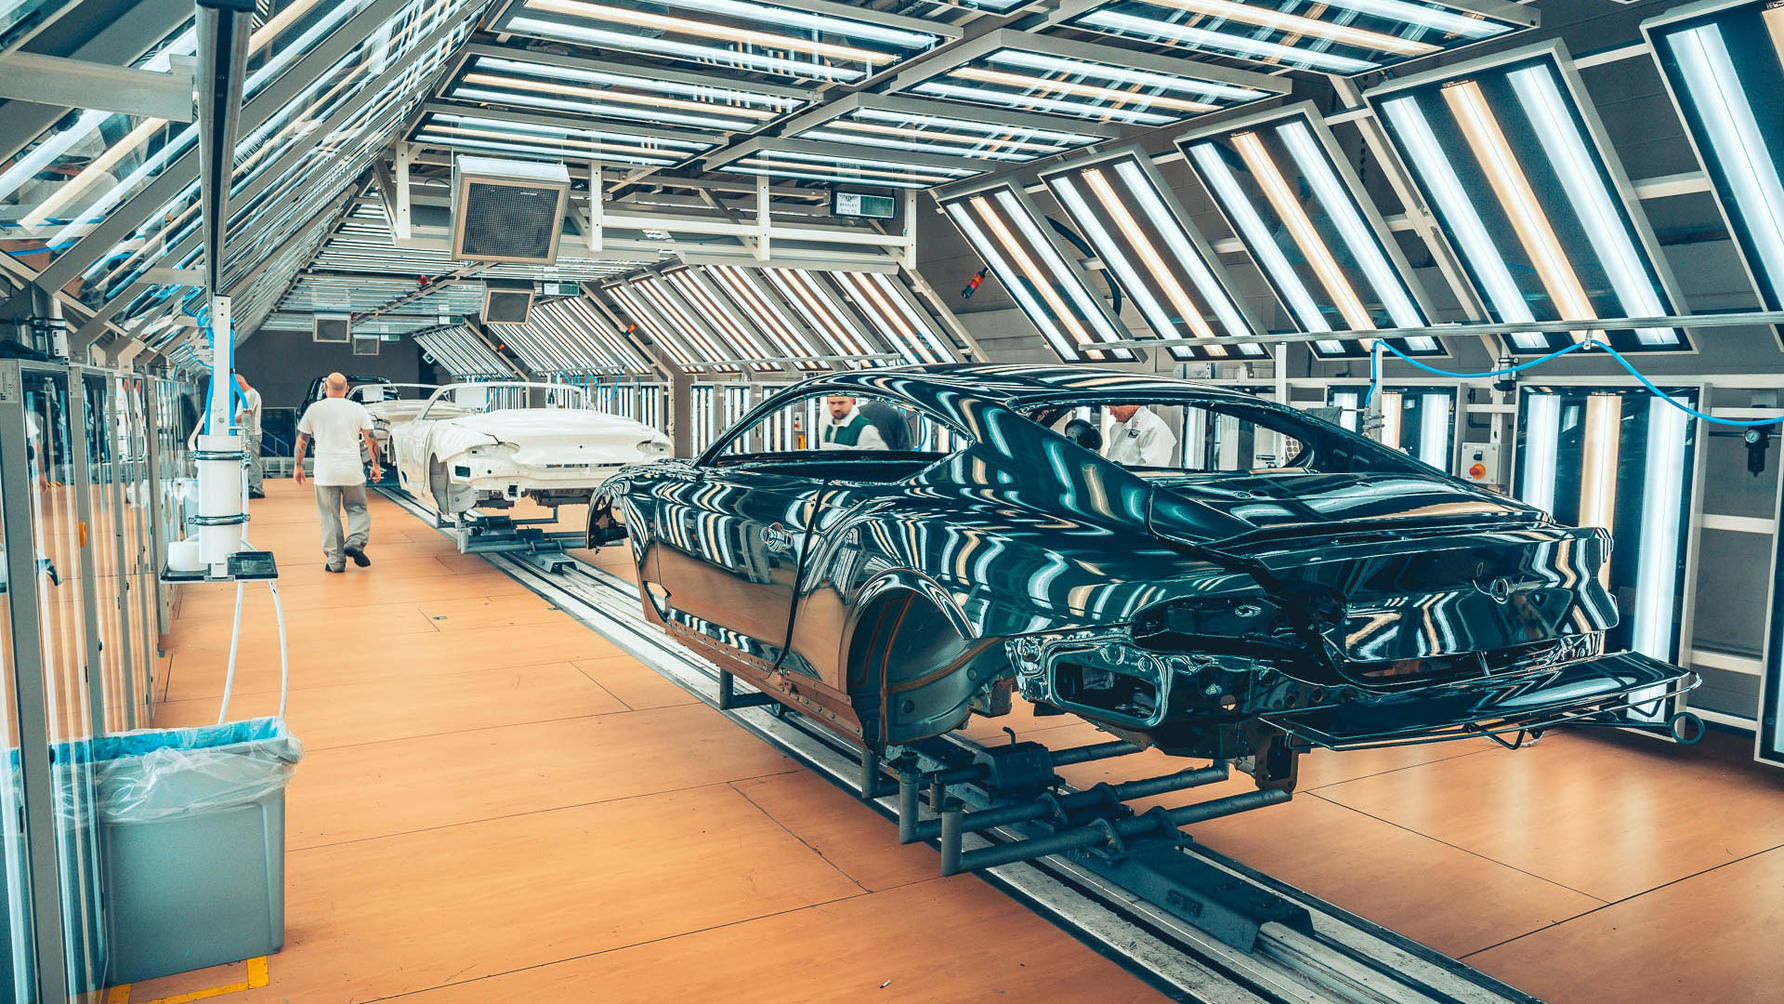
Final inspection

That’s better. But while I just stood back and drank in the colour, the final inspection team went to work. The lights overhead are designed to be as unflattering as possible, warm and cold white bars interspersed, helping to make any imperfections stand out. These guys are only checking the roof. Further down the tunnel of light others will inspect the flanks, bonnet, boot, wings etc.
Again, I’m struck by how many people are involved. And by how many chinagraph pencil marks they’re making on the paintwork. Apparently Verdant is a tricky colour to paint – something in its chemical make-up means it tends to get a few air bubbles that pop and leave tiny indents as it dries. Initially they’re so small I can’t see them, but gradually my eyes tune in.
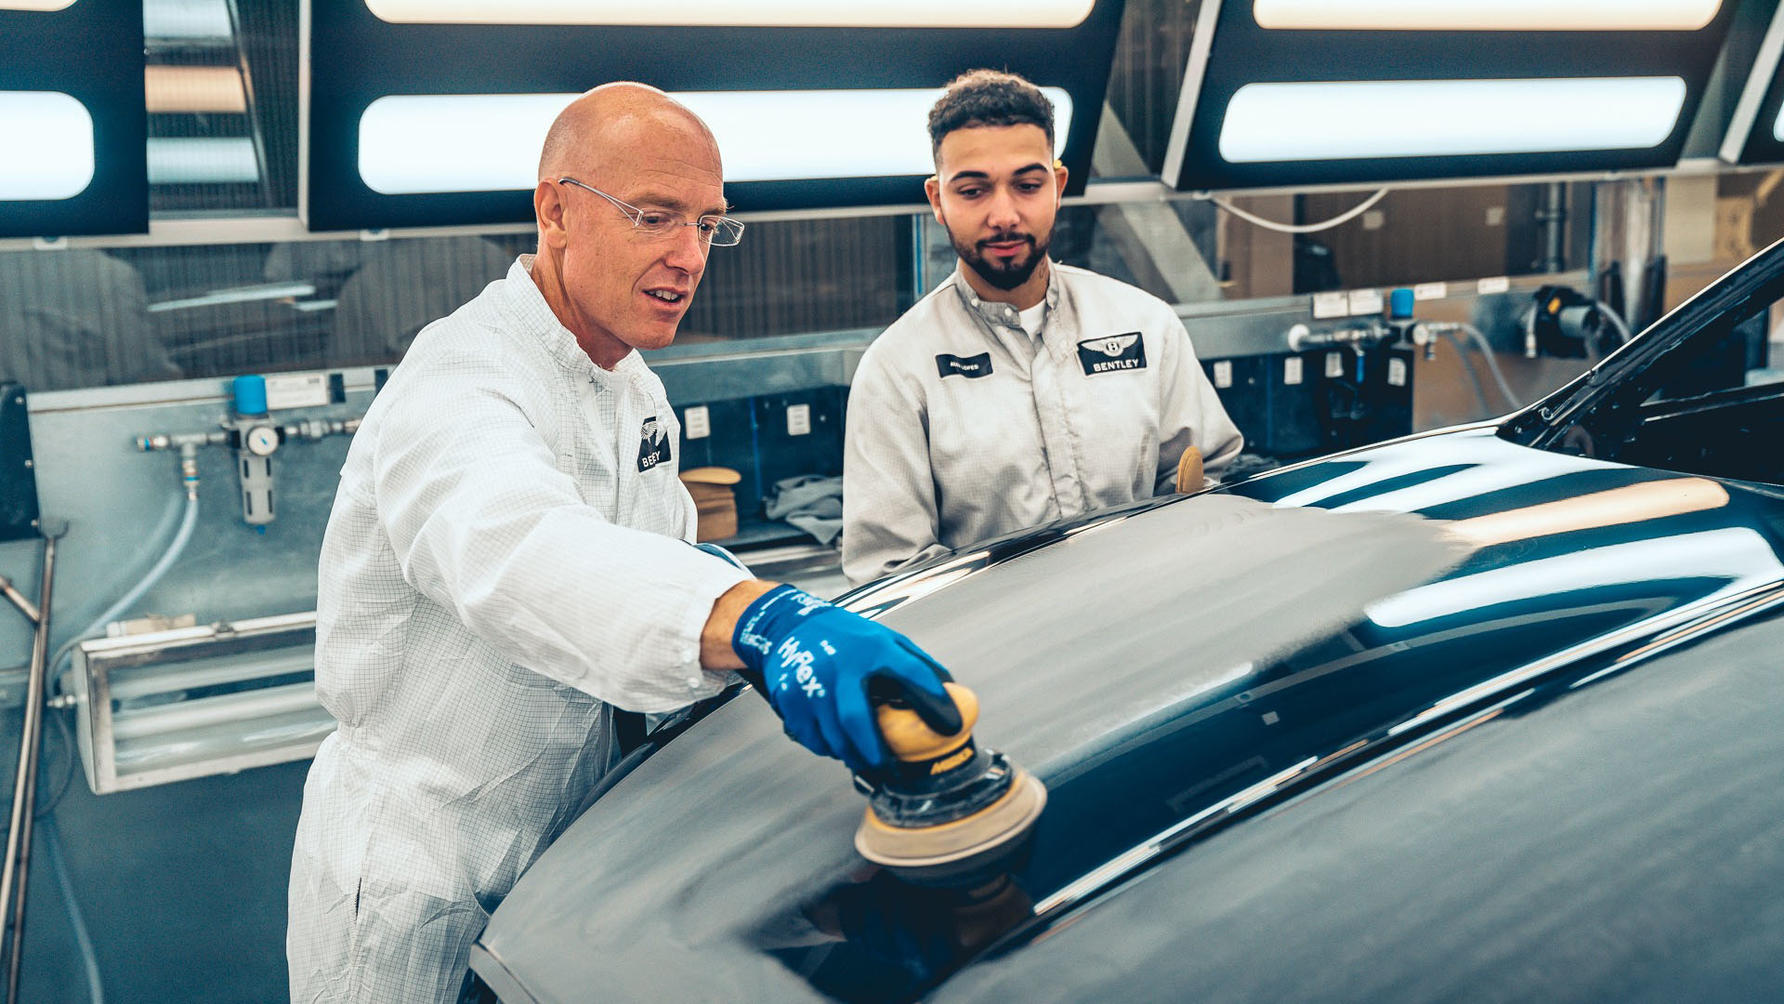
Polishing
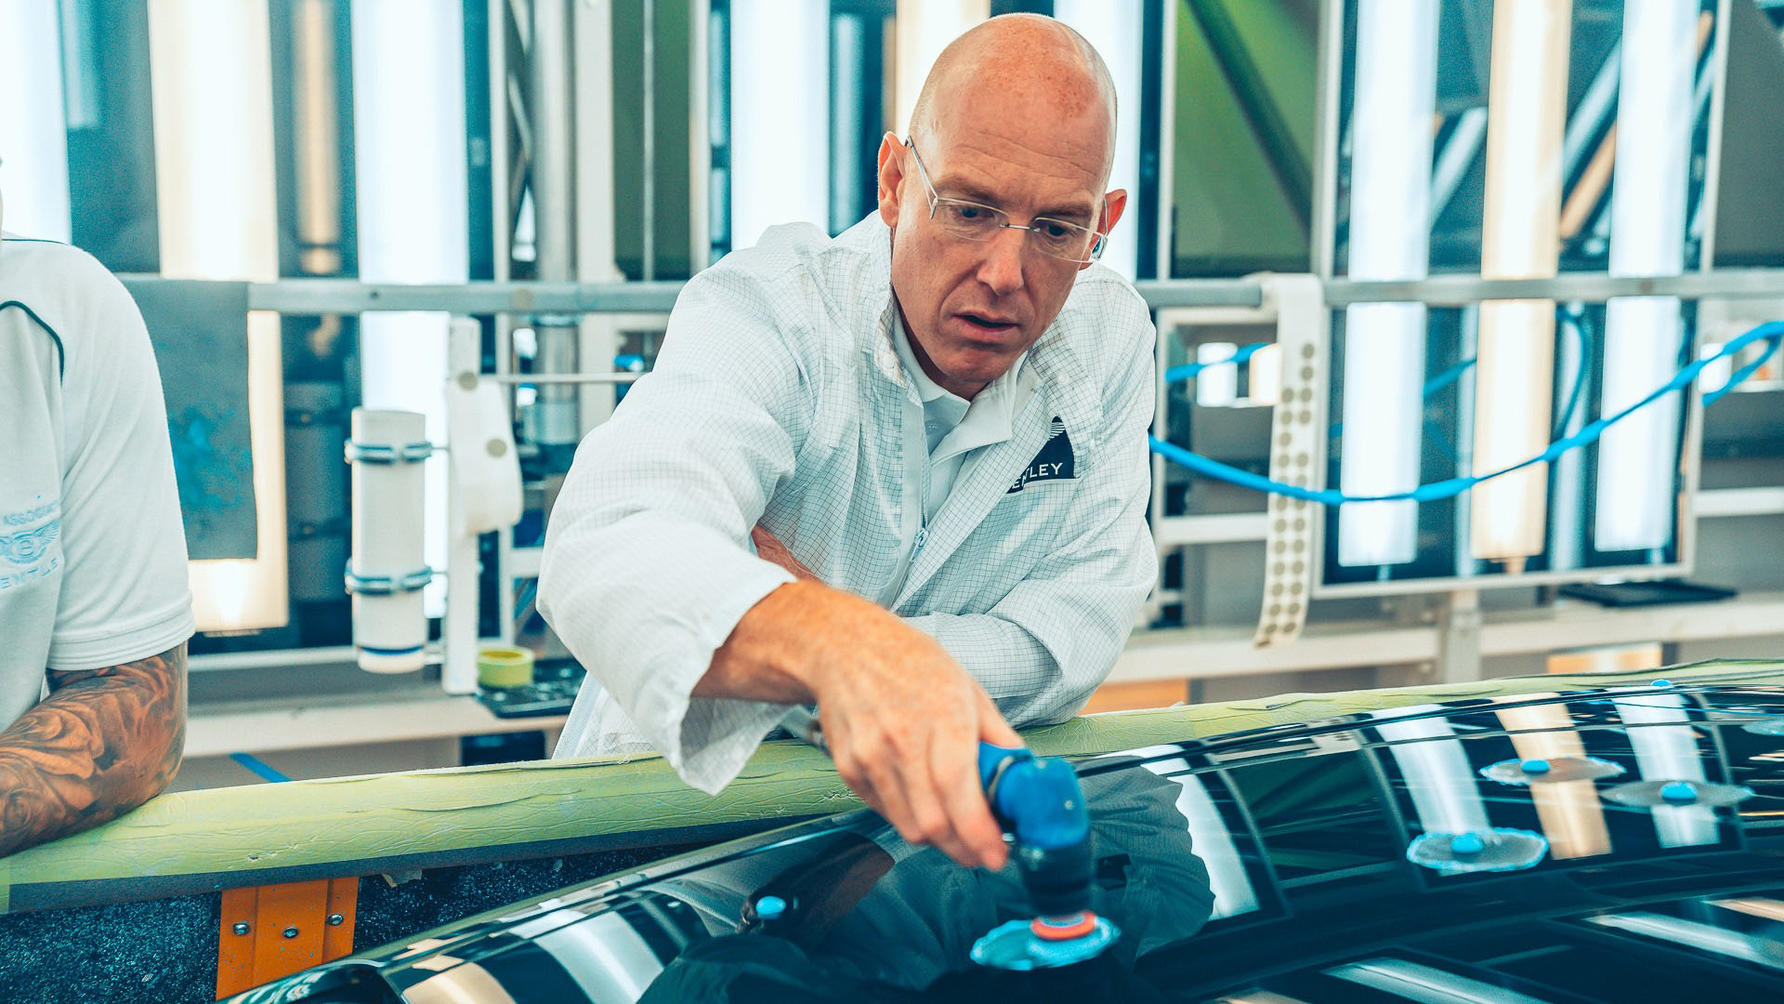
Each and every one has to be polished out. First you use one rotary tool to apply the polish and work it in...
Fluffing buffing
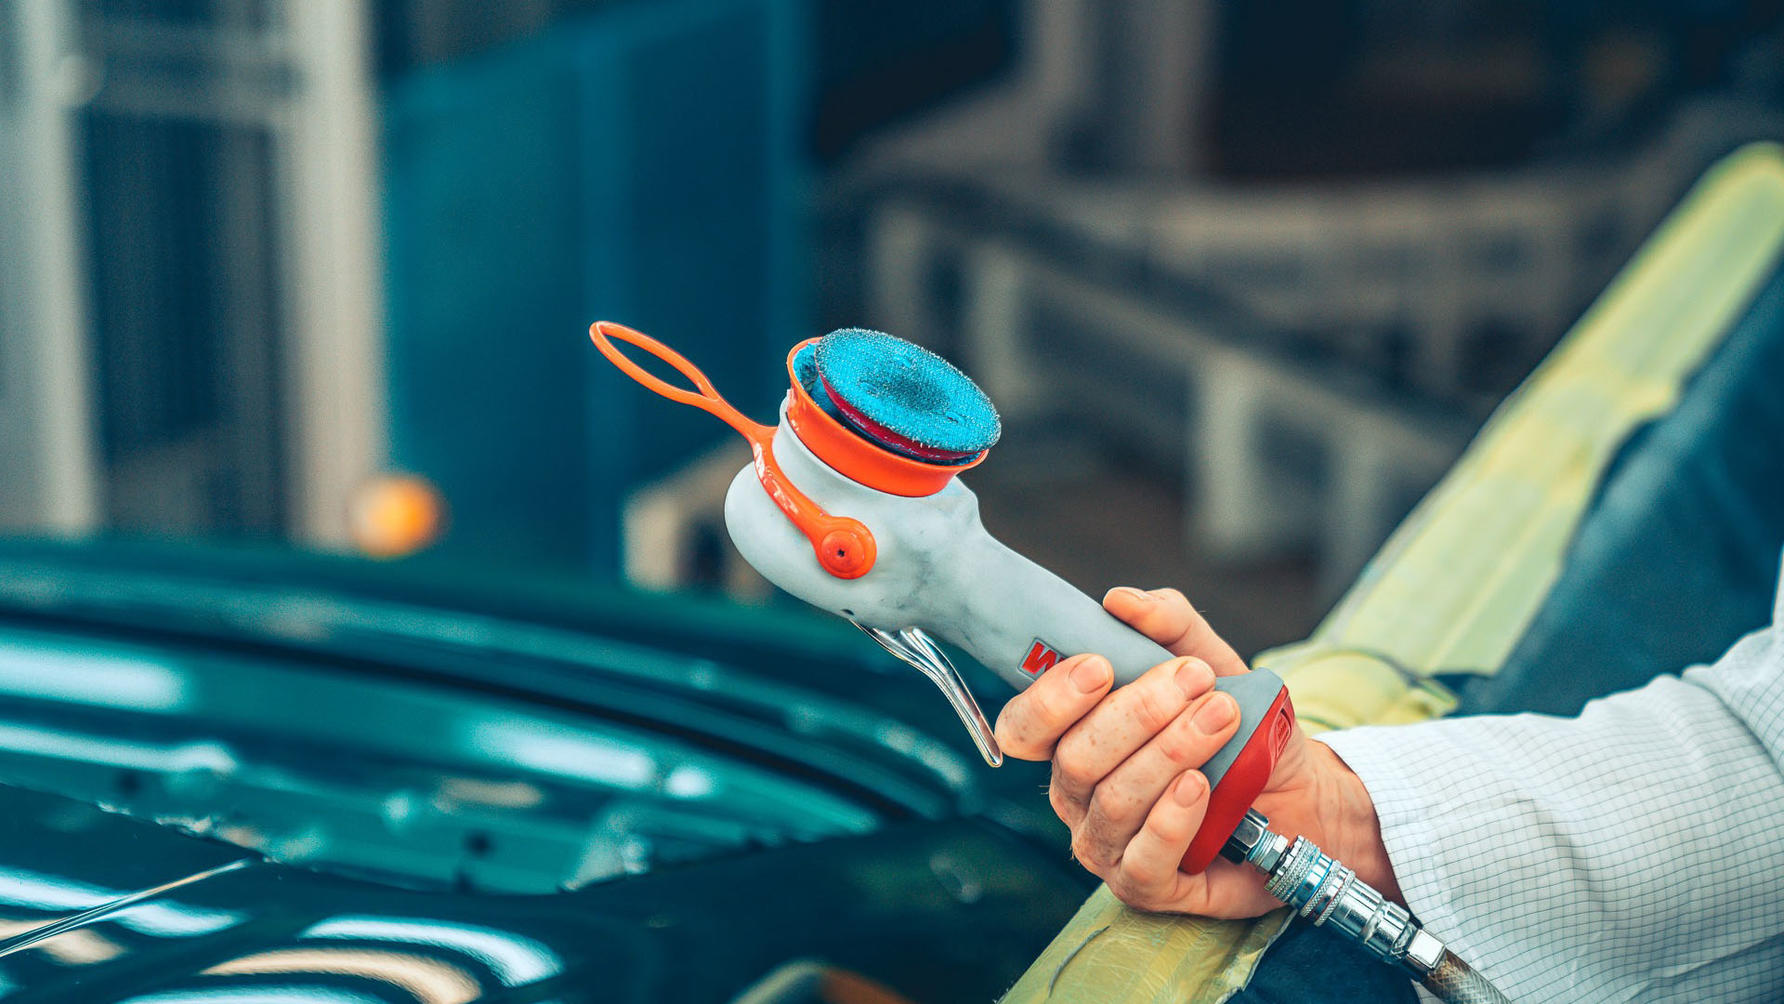
Then another to buff it to a shine. This one doesn’t currently have a pad attached because I hadn’t listened, and had lifted it off the bodywork before stopping it spinning. The disc flew off across the roof like a frisbee. Another job best left to the experts. There would be more of these...
End of the paint line
Once it reaches the end of the inspection process, the bodies are taken from the end of the line, across a road and into storage for a day or two while the rest of the components are assembled.
Mostly I’m surprised by how labour intensive it’s all been, considering how high tech it is. There are a lot of people around, even though from the control room above everything looks almost totally automated and for long periods of time the cars aren’t touched by human hand. But there we are, we have a Verdant green bodyshell. Next step, I get to build a 12 cylinder engine...
Thank you for subscribing to our newsletter. Look out for your regular round-up of news, reviews and offers in your inbox.
Get all the latest news, reviews and exclusives, direct to your inbox.
